How to Take Better Photos When Selling a Golf Cart
Learn how to take clean, trustworthy golf cart listing photos that help buyers click, compare, and inquire faster.
If you want to sell a golf cart faster, better photos are one of the easiest ways to improve your listing. Clear, honest images help buyers understand the cart’s condition, features, and overall value before they ever reach out.
This guide walks you through how to take better photos when selling a golf cart, including how to prep the cart, choose the right light, capture the key angles, and avoid the mistakes that make buyers scroll past. The goal is simple: stronger golf cart listing photos, better leads, and a smoother selling process.
Why better photos help you sell a golf cart faster
Most buyers start with the photos. If the listing looks dark, cluttered, or incomplete, they may assume the cart has hidden issues and move on. Strong golf cart resale pictures give buyers confidence and make your listing feel worth their time.
Good photos also help you attract the right inquiries. When buyers can clearly see the cart’s condition, accessories, and layout, they are more likely to ask serious questions instead of basic ones. That means less back-and-forth and a better chance of connecting with qualified leads.
Prep the cart before you take any listing photos
Before you open the camera app, treat the cart like it is ready for a showing. A little prep goes a long way. Clean surfaces, tidy seating, and a charged battery make the cart look cared for and easier to evaluate.
This step is especially important if you are trying to sell a golf cart with better photos online. Buyers often judge condition from the first image, so the cart should look presentable from every angle before you start shooting.
- Wash the exterior and wipe down plastic, glass, and trim
- Vacuum seats and floor mats
- Remove personal items, tools, and loose accessories
- Charge the battery so gauges and lights can be shown if needed
- Top off tires and check that the cart sits level
- Fold or adjust mirrors and seats so the cart looks neat
Clean, charge, and remove clutter so the cart looks ready for a buyer
Clutter is one of the fastest ways to weaken a listing. A water bottle in the cup holder or a pile of equipment in the back can make the cart look less valuable, even if the cart itself is in good shape. Keep the scene simple and focus attention on the cart.
A charged cart is also easier to photograph well. If the dash, lights, or display need to be shown, a battery that is ready to go helps you capture those details without warning signs like dead screens or dim indicators.
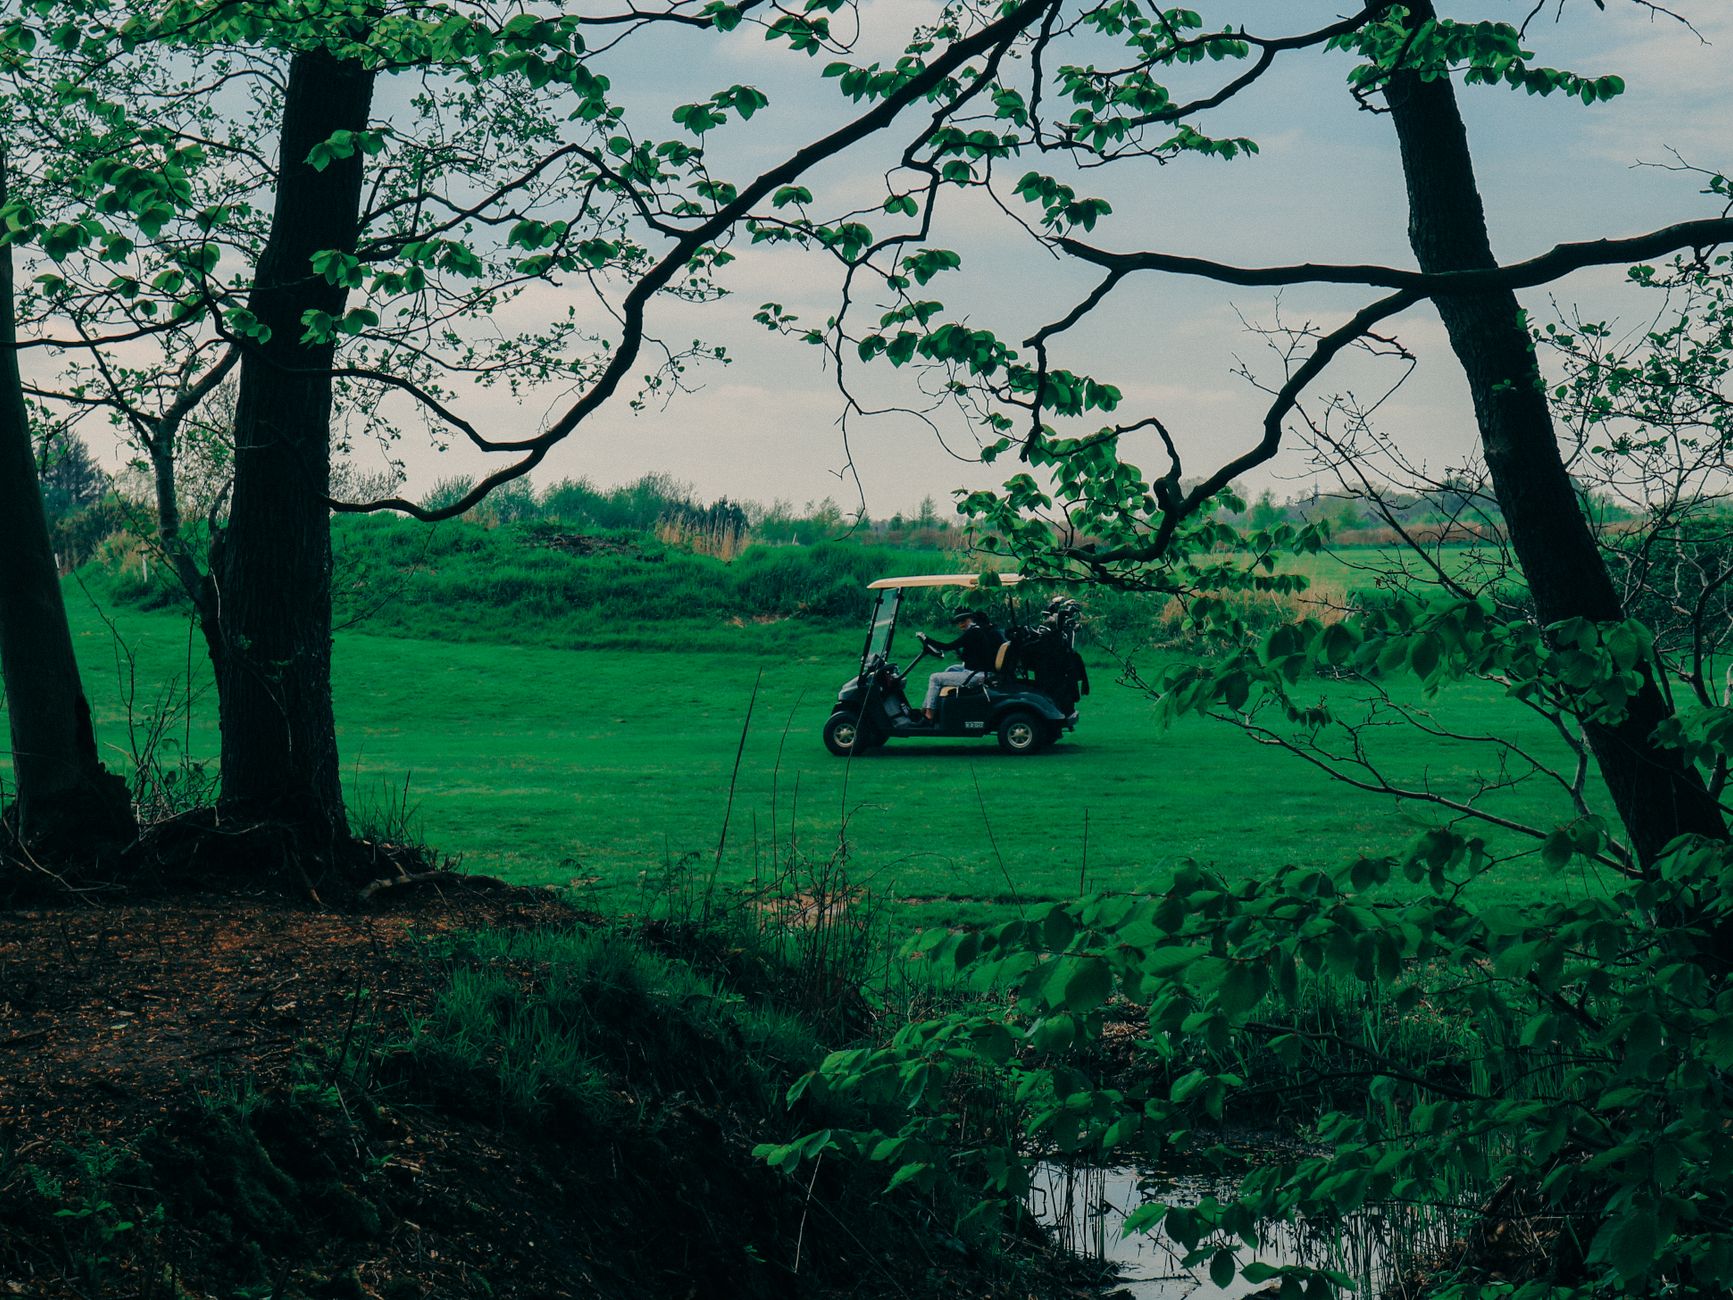
Use the right light and setting for golf cart listing photos
Natural light is usually the best choice for golf cart listing photos. Early morning or late afternoon often gives you softer light, which reduces harsh shadows and glare on paint, windshields, and chrome. Midday sun can work too, but it may create blown-out highlights and strong reflections.
Choose a simple background that does not compete with the cart. A driveway, open lot, or clean paved area usually works better than a crowded garage or busy street. You want buyers to focus on the cart, not on what is happening behind it.
- Shoot during soft daylight when possible
- Avoid harsh overhead sun that creates glare
- Park with enough space around the cart
- Use a level angle so the cart looks proportionate
- Keep the background clean and uncluttered
- Step back for wider shots, then move in for detail photos
Best times of day, backgrounds, and angles to avoid glare and distractions
If the cart has reflective surfaces, take a few test shots before you settle on a final angle. Even a small change in where you stand can reduce windshield glare or prevent your own shadow from landing across the seat or hood.
For most listings, straight-on and three-quarter angles work best because they show shape and condition clearly. Try to avoid extreme close-ups as your main photos. Buyers want context first, then detail.
Capture the must-have shots buyers expect in an online listing photo checklist
A complete online listing photo checklist should answer the most common buyer questions before they ask them. That means photographing every major side of the cart, the interior, and any features that influence value or use.
Do not rely on one or two images. Buyers want to compare carts quickly, and complete coverage helps your listing stand out in a crowded market.
- Front view
- Rear view
- Driver side
- Passenger side
- Seats and upholstery
- Dashboard and controls
- Tires and wheels
- Battery compartment or power source area
- Roof and windshield
- Any accessories, lifts, lights, or enclosures
- Any dents, scuffs, tears, or other defects
Front, rear, side, seats, tires, dashboard, battery area, and any defects
These are the core golf cart listing photos buyers expect because they show both the big picture and the details that affect confidence. A buyer should be able to understand the cart’s layout and condition without guessing.
Defect photos matter just as much as polished shots. If there is a scratch, crack, worn seat, or battery issue, photograph it clearly. Honest condition details can reduce wasted inquiries and help the right buyer move forward faster.
Make your photos more trustworthy with honest condition details
Trust is what turns views into leads. If a cart is used, buyers expect signs of wear. The key is to show those signs clearly without making the listing feel negative or overly technical.
Pair the photos with a straightforward description. Mention what works well, what has been updated, and what should be inspected in person. That combination helps buyers feel informed instead of surprised.
Common mistakes that hurt golf cart resale pictures and how to avoid them
A few simple mistakes can make an otherwise good cart look hard to buy. Dark indoor photos, blurry images, awkward cropping, and too much background clutter all reduce trust and click-through rate.
Another common issue is overselling the cart with only glamour shots. If buyers cannot see the seats, wheels, dash, or battery area, they may assume you are hiding something. The best listings feel complete, not staged.
- Do not use low-light photos taken in a garage unless the lighting is excellent
- Do not rely on filters that change the cart’s true color
- Do not crop out important details just to make the image look cleaner
- Do not ignore wear or damage that buyers will notice later
- Do not post only one side of the cart
When you are ready to list, register your cart with Jeff Martin Auctioneers
Once your photos are ready, the next step is to move from preparation to listing. If you want a trusted marketplace behind your sale, Jeff Martin Auctioneers is the contact brand to work with through JMA Golf Carts.
Registering your cart is the fastest way to turn a well-prepared listing into a lead opportunity. If you are selling one cart or several, a clear photo set and a complete registration form help the team evaluate your listing and guide next steps.
Frequently asked questions
Aim for enough photos to show the cart from every important angle: front, rear, both sides, seats, dashboard, tires, battery area, and any accessories or defects. A complete set usually performs better than a short, incomplete gallery.
Next step
Ready to list your golf cart?
If your photos are ready, register with Jeff Martin Auctioneers through JMA Golf Carts and take the next step toward a stronger, more trustworthy listing. Whether you are selling one cart or several, the right photos and a clear registration process can help you move faster.
Register Your Cart